
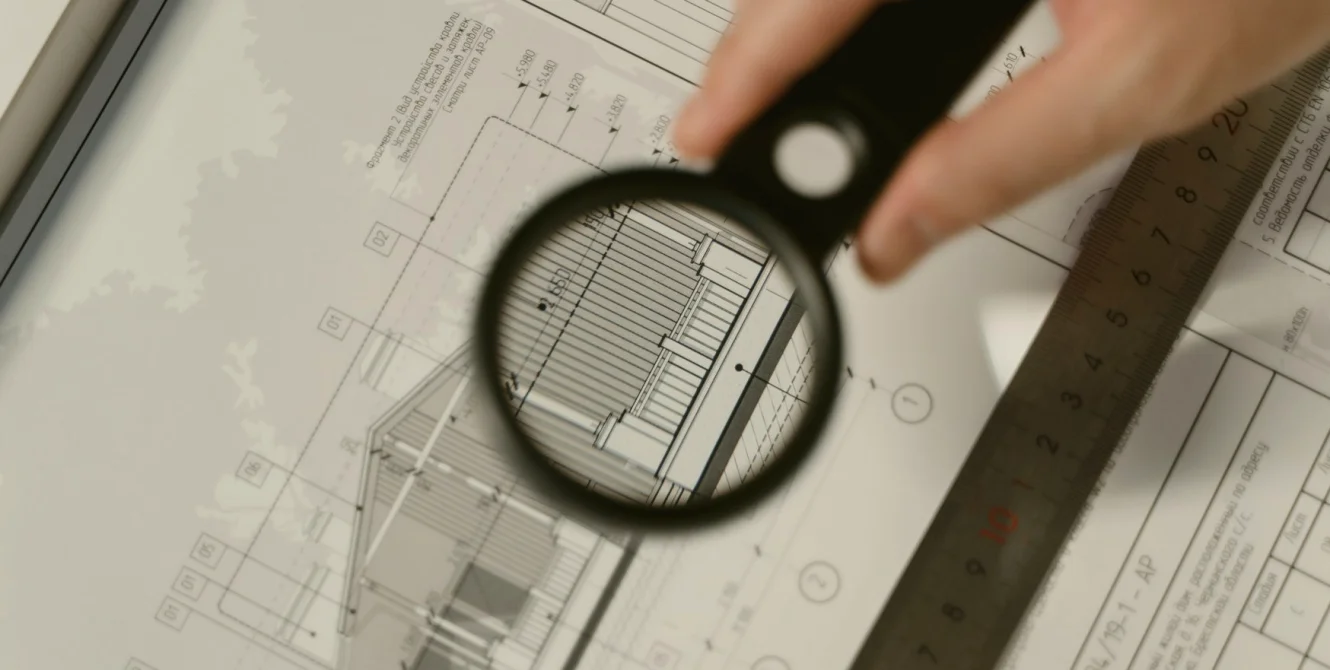
The Tools We Use to Plan a Studio Floor Before Any Cable Is Run
Priya Nair describes the drawings, measuring tools and mock-up methods used to lay out a news or live studio, so operators and crews can move freely once the show goes to air.
Start with a scaled plan, not a walkthrough
Every layout we produce begins with a drawing to scale. Before anyone talks about where a desk should sit, we measure the room itself: wall lengths, ceiling height, door swings, structural columns, the position of power points and any fixed vents that will affect sound. From those figures we draw the empty floor on paper and on screen, and everything else is placed on top of it.
The reason is simple. A studio that feels roomy when you stand in it often turns out to be tight once three cameras, a desk, a weather wall and a presenter's walking route are all competing for the same patch of floor. A scaled plan shows that conflict in minutes, long before anyone has lifted a flight case.
I come to this as a camera trainer, so I read plans from the operator's side. I look for the moves a camera needs to make and whether the plan leaves room for them.
- Wall lengths, ceiling height and door swings recorded on the day
- Power, data and ventilation points marked on the drawing
- Fixed obstacles such as columns noted before any placement
Marking the floor with tape before anything is bought
Once the plan looks sensible, we take it into the room and mark it out with coloured tape. One colour for the desk and set pieces, another for camera positions, a third for the routes that presenters and crew will walk. It costs almost nothing and it tells you a great deal.
Standing a presenter at the taped desk while an operator walks a pedestal camera along its marked arc shows straight away whether the shot can be held without the camera crossing a cable run or another operator's path. Producers often change their minds at this stage, and it is far cheaper to move tape than to move a fitted desk.
We usually leave the tape down for a rehearsal or two, so the whole crew can test it in real conditions and say what feels wrong. Their comments go back into the drawing.
- Separate tape colours for set, cameras and walking routes
- Operators walk their intended moves before the plan is fixed
- Tape stays down through at least one rehearsal
Camera positions and sightlines
Camera placement is where a layout either works or quietly fails. For each position we check three things: the angle onto the presenter, the clear space around the pedestal, and whether the shot can see anything it should not, such as a monitor, a doorway or another camera.
We also think about how far a camera must travel during a programme. A robotic head on a fixed point has different needs from a pedestal that tracks across the floor, and the plan has to say which is which. Cable length matters here too, because a camera that can only reach part of its arc is a camera with a restricted shot list.
Where two cameras share one area of floor, we agree who has priority and mark a clear boundary. It is a small decision, but it prevents the contact and hesitation that show up on air.
- Angle, clear floor and background checked for every camera
- Robotic and pedestal positions treated as different cases
- Shared floor areas given a clear priority between operators
Cable routes and where the connections live
Cabling is the part of a layout most people only notice when it goes wrong. We draw cable routes as carefully as furniture: which runs go under the floor, which follow the walls, where they cross a walking route and how they will be covered or protected at that crossing.
We separate power from signal and audio wherever the room allows, because mixing them is a common cause of hum and interference. Connection points are grouped in labelled boxes near each camera and desk, so that anyone on the crew can trace a line without opening a panel.
Labels are a method as much as a tool. A consistent naming scheme, written on the drawing and on the cable itself, means a fault can be found by anyone, not just the person who installed it.
- Power kept apart from signal and audio where possible
- Grouped, labelled connection boxes near cameras and desk
- Matching names on the drawing and on every cable
Testing the layout under real conditions
A layout is only finished when a crew has run a programme through it. We ask for a rehearsal with the actual team, using real run-sheets and, where possible, the actual lighting state. Small problems show themselves quickly: a camera that loses its shot when a presenter stands, a cable that catches a wheel, a monitor that glares into a lens.
During the rehearsal we watch the room as much as the screens. People tell you more by how they move than by what they say, and a crew that is hesitating or stepping round each other usually points to a plan issue rather than a skills issue.
Afterwards we update the drawing, correct the floor marks and give the studio manager a final plan they can keep, with positions, routes and labels recorded so the layout can be reproduced after any change.
- Rehearsal with the real crew and real run-sheets
- Observation of movement, not only picture and sound
- A final drawing handed over for future reference
Why the unglamorous methods win
None of this is sophisticated equipment. A tape measure, a plan, coloured tape and a patient rehearsal do most of the work, and they work because they put the crew's real movements at the centre of the decision.
In these autumn weeks, when many teams are reorganising studios ahead of a busy news season, I would suggest spending an afternoon on tape and measurements before ordering anything. It is the cheapest hour of the whole project and the one that most often saves a later rebuild.
A studio layout rests on a handful of plain methods: measure the room, draw it to scale, mark it out in tape, route the cables deliberately and test it with the people who will work there. None of it is complicated, but each step catches a problem while it is still cheap to fix. If you are planning a new floor or reworking an existing one, start with the drawing and the tape, and let the crew walk it before anything is fixed in place.